see tutorials
Though I have used the word “tutorial” throughout, some of these items are more along the lines of a magazine article, as they include a detailed discussion of the topic, as well as instructions if appropriate. Please see the individual descriptions for more information.
My tutorials have a lot of pages but that does not mean the process is complicated. If the tutorial is only suitable for those with experience, I will say so.
The page count includes the cover and index (if there is one) and I make a point of using large photos, and a lot of them. Often, I will start a new page to avoid splitting a paragraph, or to keep the text and a related picture together. All of this takes up quite a bit of space. My beadmaking tutorials also include a page with the basic recipe to print and take to the torch, as well as several pages of variations on the theme. I make no apology for putting in a lot of detail. I would rather explain things fully than leave out something that would help someone to understand the process.
The “prices” have been kept low to make the tutorials affordable to as many people as possible.
As well as the tutorials listed below, there are several in the pipeline, and I have ideas for many more, so please check back often to see what has been added.
If you have any questions, please don’t hesitate to ask. There is a link to the Contact Me page at the bottom of this page.
NB: Minimum donations are in Australian dollars.
! SPECIAL - TWO GIFT MAKING BUNDLES FOR ALL CRAFTERS !
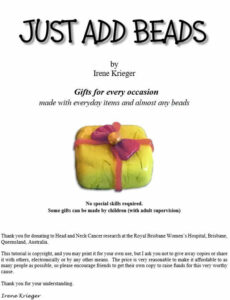
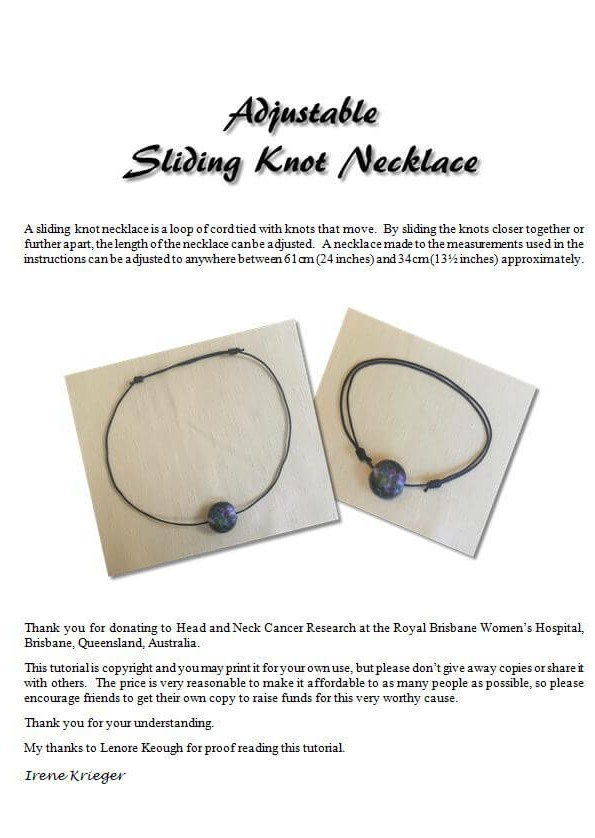
bundle one - save $2
Buy the “Just Add Beads” tutorial (normally AU $12)
and the “Sliding Knot” tutorial (normally AU $5) at the same time
PAY JUST AU $15 – save AU $2
Please mention “Bundle One” when placing your order
Scroll down for more information on these tutorials and to view sample pages
bundle two - save $5
Buy the “Just Add Beads” tutorial (AU $12)
and the “All Wrapped Up” tutorial (AU $10)
get the “Sliding Knot” tutorial (normally AU $5) absolutely free
Please mention “Bundle Two” when placing your order
Scroll down for more information on these tutorials and to view sample pages

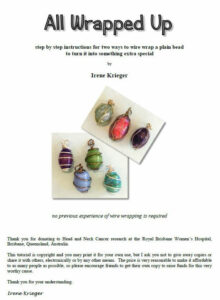

FREE
"how to make a lentil without a press”
step by step bead making tutorial
8 pages
30 photos & 10 diagrams
File size 840kb
This method will allow you to make a lentil shaped bead of any size, big or small, using nothing but a marver.
Much quicker if making multiples of the same design where a little variation in size and shape won’t matter. Ideal when building a bead with lots of detail, so there is little control over how big it will end up, or when the bead does not fill the press you were hoping to use, and adding more glass isn’t an option.
Hot head friendly
Suitable for beadmakers with all levels of experience
Click below to see a larger image of the cover and a sample page.
minimum donation AU$ 7
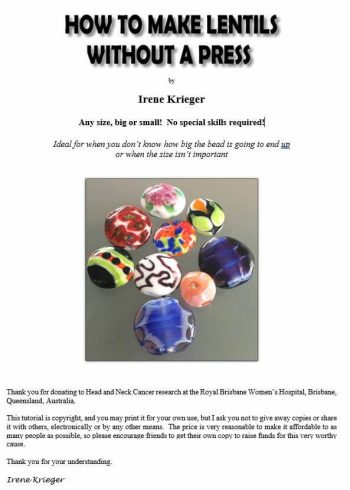
“just add beads”
a step by step craft tutorial
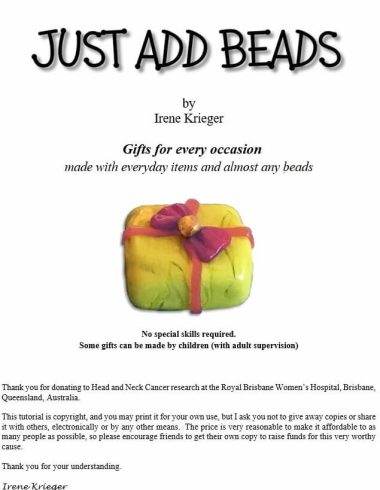
Ten easy to make gift ideas
28 pages, 80+ photos, 21 diagrams, File size 2.6MB
This tutorial shows how to add beads to everyday items to make them extra special. Almost all the basic items can be purchased for a dollar or two at a discount store, though you would never know how inexpensive they were after they have been “beaded”. They make thoughtful gifts at any time of year and but are ideal as stocking fillers.
Any bead can be used, either purchased or self-made from glass, polymer clay, paper or anything else beads can be made from. These gifts are a great way for beadmakers to use some of their stash.
Full explanations are given, including step by step diagrams, so no special skills are required.
Click below for a larger image of the cover and for more information
minimum donation AU$12
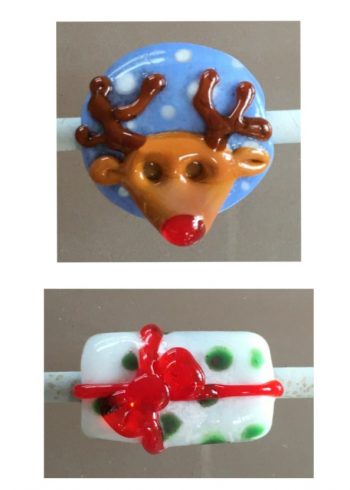
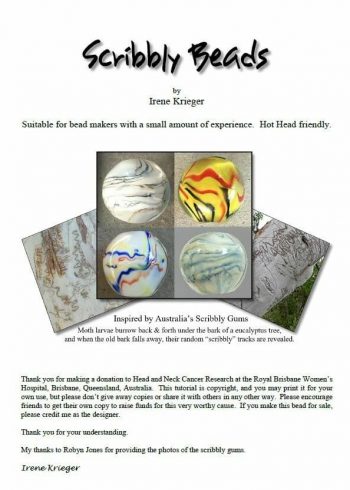
“christmas beads”
two mini tutorials
1 page each
1 photo & 6 diagrams in each tutorial
File size approx. 150kb each
Two quick and easy Christmas beads
Ideal for Beads of Courage (aka Bravery Beads)
The technique for the bow is a something you will use again and again
Hot head friendly
Suitable for beadmakers with all levels of experience.
There are no sample pages because each tutorial is on one page.
minimum donation AU$3 each or $5 for both
“scribbly beads”
step by step bead making tutorial
17 pages
59 photos
12 variations of the bead shown
Hothead friendly
File size 1.9MB
The scribbly effect is created on the bead by adapting a well known technique. As the pattern is totally random and cannot be predicted, each bead will be unique. Once the pattern is there, the bead can be shaped any way you like. A larger size makes a beautiful focal bead, either left as it is or with surface decoration.
Suitable for all beadmakers, including beginners with a small amount of experience. The instructions are detailed, working with this tutorial is a good way to learn a new technique.
Click below to see a larger image of the cover and a sample page.
minimum donation AU$12
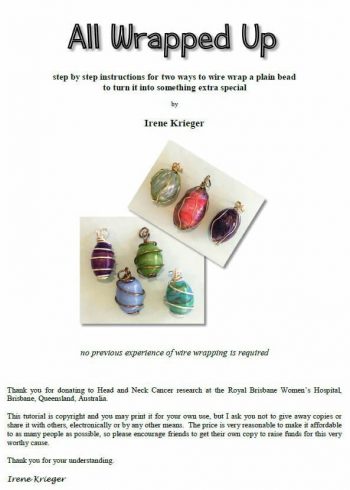
“all wrapped up”
step by step craft tutorial
18 pages
80 photos & 4 diagrams
File size 1.76MB
Two simple ways of decorating a bead by wrapping it with jewellery wire a.k.a. artistic wire or beading wire. The big advantage my method is that the wire wrapping is not supposed to be precise or symmetrical. Even someone with absolutely no experience can achieve a good result first time around. If make your own beads, this is an excellent way to elevate practice (or ugly) beads to something special and very sale-able.
Suitable for all levels of craft experience.
Click below to see a larger image of the cover and a sample page.
minimum donation AU$10
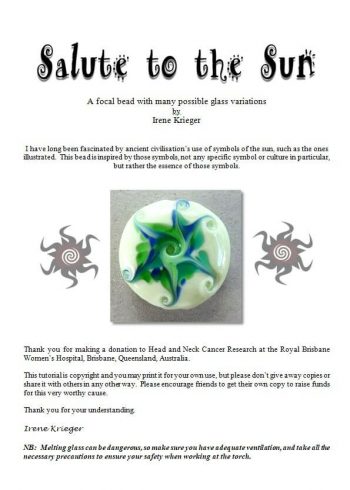
“salute to the sun”
step by step bead making tutorial
18 pages
39 photos & 1 diagram
11 variations of the bead shown
Hothead friendly
File size 1.36MB
The secret to success is the unusual way the frit is applied and getting the twists right – full instructions for both are given. Suitable for all beadmakers comfortable making large-ish beads, from a beginner with a little experience to those with a high level of proficiency. This tutorial provides instructions for making the bead with or without a press.
Click below to see a larger image of the cover (including the bead) and a sample page.
minimum donation AU$12
“sliding knot necklace”
step by step craft tutorial
8 pages
22 photos & 7 diagrams
File size 1.44MB
This tutorial is for anyone who wants to learn to make a simple necklace. It gives instructions for a necklace that typically adjusts from a choker to one that hangs about mid chest. As long as the cord can fit through the hole or loop, the necklace can be made with any bead or pendant, either purchased or self made. Though the tutorial shows a single bead, a pendant, multiple beads, or beads and a pendant, can be strung on the cord. Suitable for all levels of craft experience.
Click below to see a larger image of the cover and a sample page.
minimum donation AU$5
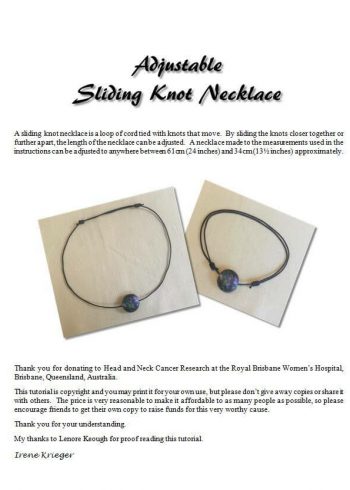

“sliding knot necklace”
step by step craft tutorial
8 pages
22 photos & 7 diagrams
File size 1.44MB
This tutorial is for anyone who wants to learn to make a simple necklace. It gives instructions for making a necklace that typically adjusts from a choker to one that hangs about mid chest. As long as the cord can fit through the hole or loop, the necklace can be made with any bead or pendant, either purchased or self made. Though the tutorial shows a single bead, a pendant, multiple beads, or beads and a pendant, can be strung on the cord. Suitable for all levels of craft experience.
Click below to see a larger image of the cover and a sample page.
minimum donation AU$5
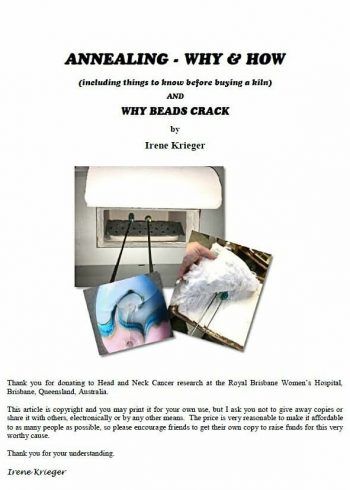
“annealing - why & how ”
detailed discussion & annealing schedules
23 pages
25 photos & 1 diagram
File size 1.15MB
This article provides information of interest to all lampworkers, regardless of experience. In a simple, easy to understand way, I discuss the reasons beads crack, suggest how to avoid it, and then go on to explore the process of annealing. An explanation of the all the steps needed, as well as temperatures to use, are included. Things to consider when buying a kiln are discussed and schedules for both batch annealing, and working flame to kiln, are suggested. Though COE 104 glass is used in the examples, the same principles apply to all types of glass.
Click below to see the Table of Contents and a sample page.
minimum donation AU$15
“waste not, want not”
discussion & detailed instructions
10 pages
25 photos & 2 diagrams
Suitable for any torch
File size 1MB
As well as discussing the compelling reasons for eliminating “shorts” (leftover ends of rods), this tutorial explains my method of joining rods step by step. My simple method was developed over many months of trial and error, working with the properties of glass rather than fighting them, to achieve consistent success. Since I have been using it, join failures are a thing of the past and of course, there are no shorts cluttering up my workbench. This tutorial will be of great benefit to lampworkers with all levels of experience, from absolute beginners to those with many years of making beads under their belts. Included are five suggestions for alternative uses for short ends – and none of them have anything to do with making frit!
Click below to see a larger image of the cover and a sample page.
minimum donation AU$7
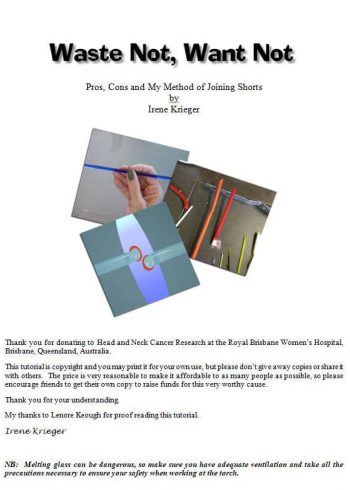

“waste not, want not”
discussion & detailed instructions
10 pages
25 photos & 2 diagrams
Suitable for any torch
File size 1MB
As well as discussing the compelling reasons for eliminating “shorts” (leftover ends of rods), this tutorial explains my method of joining rods step by step. My simple method was developed over many months of trial and error, working with the properties of glass rather than fighting them, to achieve consistent success. Since I have been using it, join failures are a thing of the past and of course, there are no shorts cluttering up my workbench. This tutorial will be of great benefit to lampworkers with all levels of experience, from absolute beginners to those with many years of making beads under their belts. Included are five suggestions for alternative uses for short ends – and none of them have anything to do with making frit!
Click below to see a larger image of the cover and a sample page.
suggested minimum donation AU$7
! coming eventually!
If you would like to be informed when new items becomes available, please email me using the form on the “contact me” page.
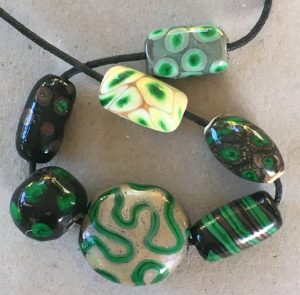
"adventures with mosaic green"
(and surprisingly , mosaic blue)
I have made some very interesting discoveries, in the case of mosaic blue, totally accidentally. All will be revealed and thoroughly explained in the tutorial.


